Build an Order Menu with Flow Variables
A Set Variable node saves a value under a name you choose, and any later node reads it back as {{custom.name}}. Put one behind each button and a flow remembers every choice a member makes, however many menus they click through. At the end, one message can list all of them.
This guide builds an order menu for a merch shop: the member picks a product, then a size or a quantity, then a delivery method, and the ticket gets a summary staff can act on. The same pattern works for applications, bookings, bug reports or anything else asked one question at a time.
What you need
A ticket panel to put the button on. Every node here is on the Free plan: Send Message with buttons, Set Variable and Condition.
How it fits together
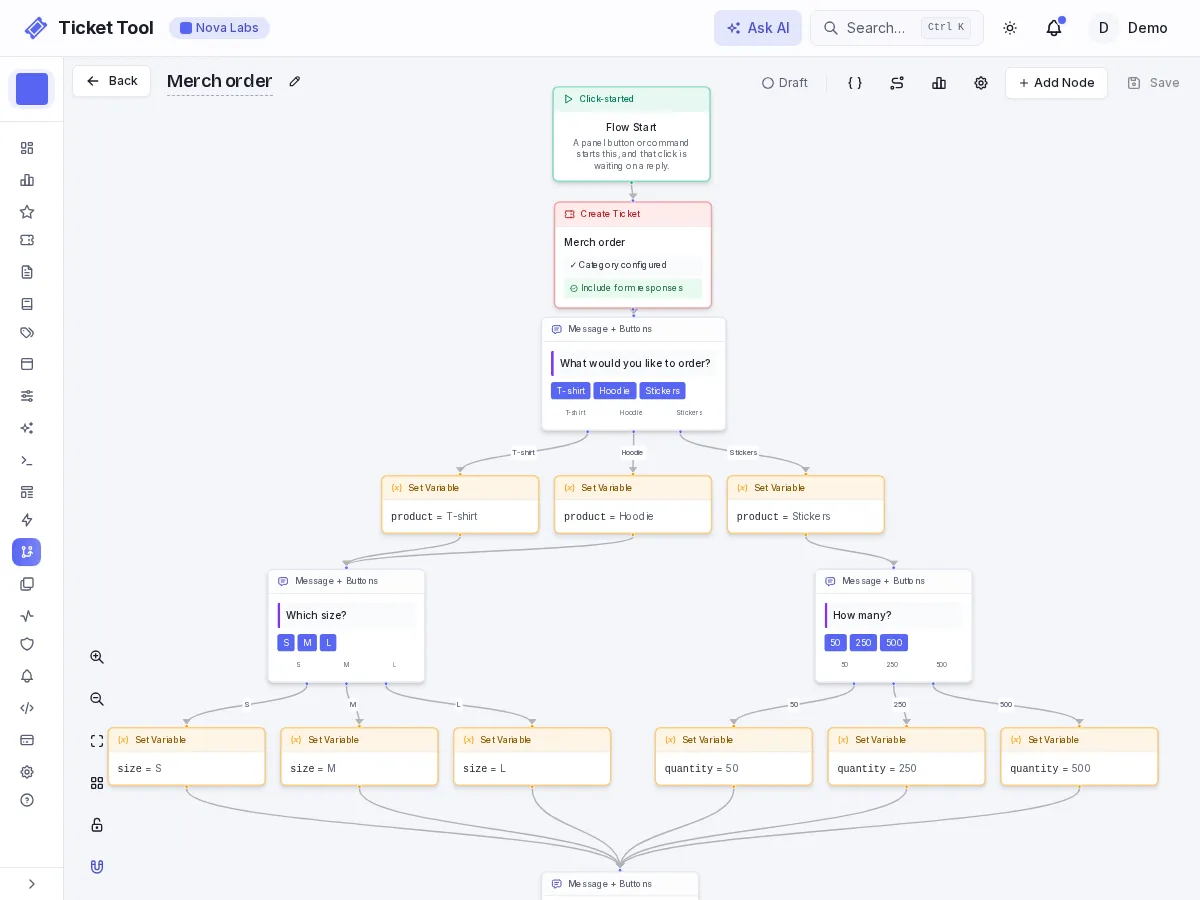
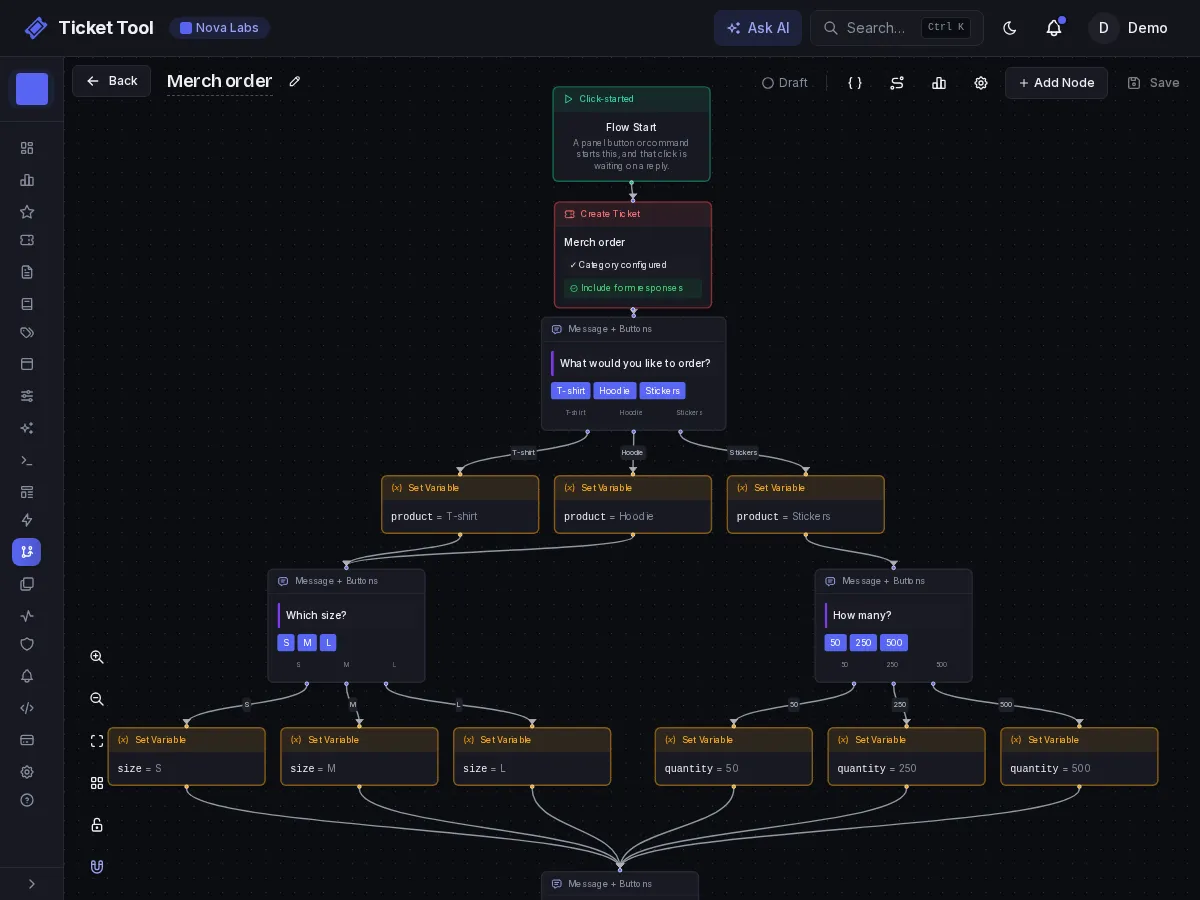
In outline:
Create Ticket
└ "What would you like?"
  ├ T-shirt  → product = T-shirt ─┐
  ├ Hoodie   → product = Hoodie  ─┴→ "Which size?" → size = …
  └ Stickers → product = Stickers → "How many?" → quantity = …
                       ↓
     "How should we send it?" → delivery = …
                       ↓
          Send Message: order summary
Each button leads to a Set Variable node, and each Set Variable node leads to the next menu. T-shirt and Hoodie share one size menu: the product is already saved, so the size menu doesn't need to know which one was picked. The menus come after Create Ticket, so the whole conversation happens inside the member's ticket, and every value carries from one button press to the next.
Start the flow
Open Automations → Flows, choose New Flow and pick Click-started. Add a Create Ticket node after Start, then link the flow to a panel button.
Ask the first question
After Create Ticket, choose Add Node and add a Send Message node from Messaging & Content. Write the question, "What would you like?", and add one button per product: T-shirt, Hoodie and Stickers.
Save the answer
Choose Add Node, pick Set Variable from Data & Notes, and connect each button's output to its own Set Variable node. Fill in Variable name and Value:
| Button | Variable name | Value |
|---|---|---|
| T-shirt | product | T-shirt |
| Hoodie | product | Hoodie |
| Stickers | product | Stickers |
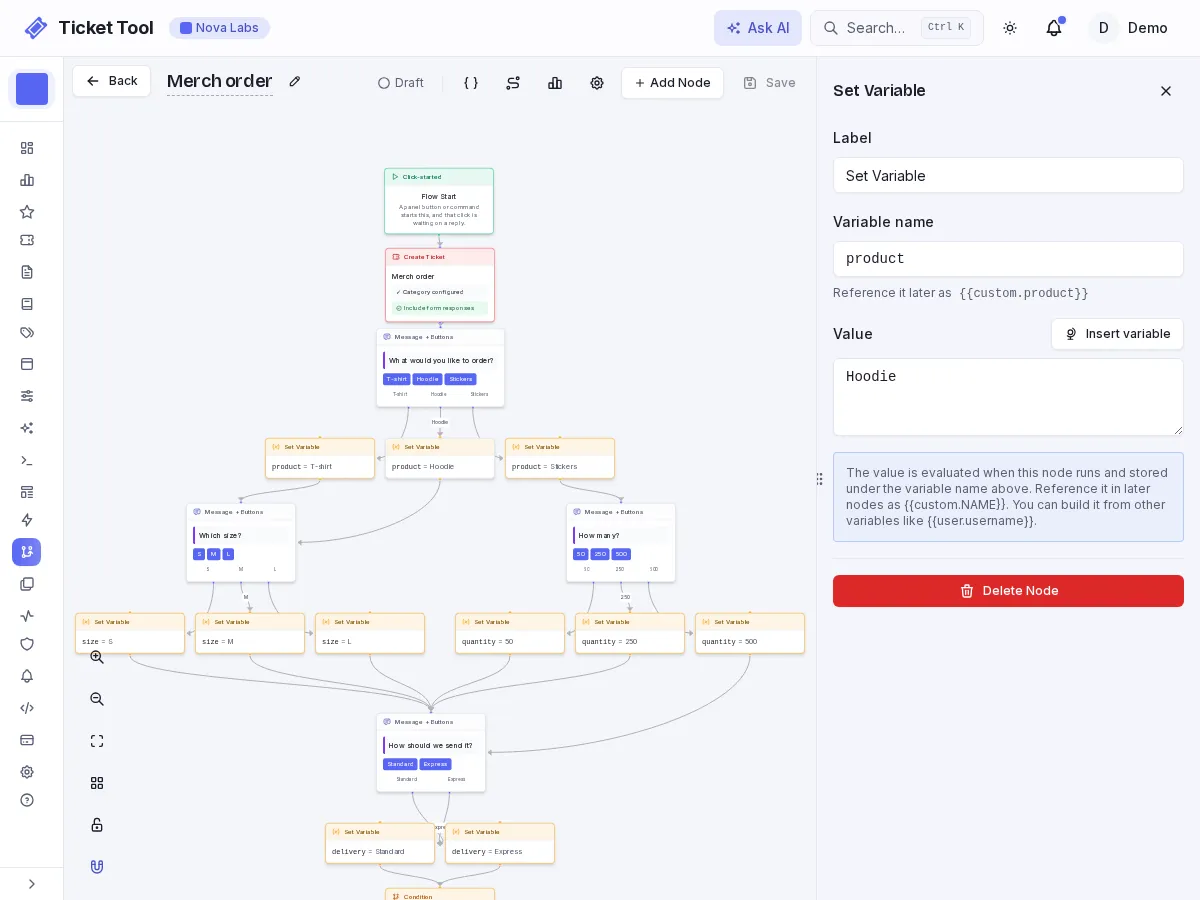
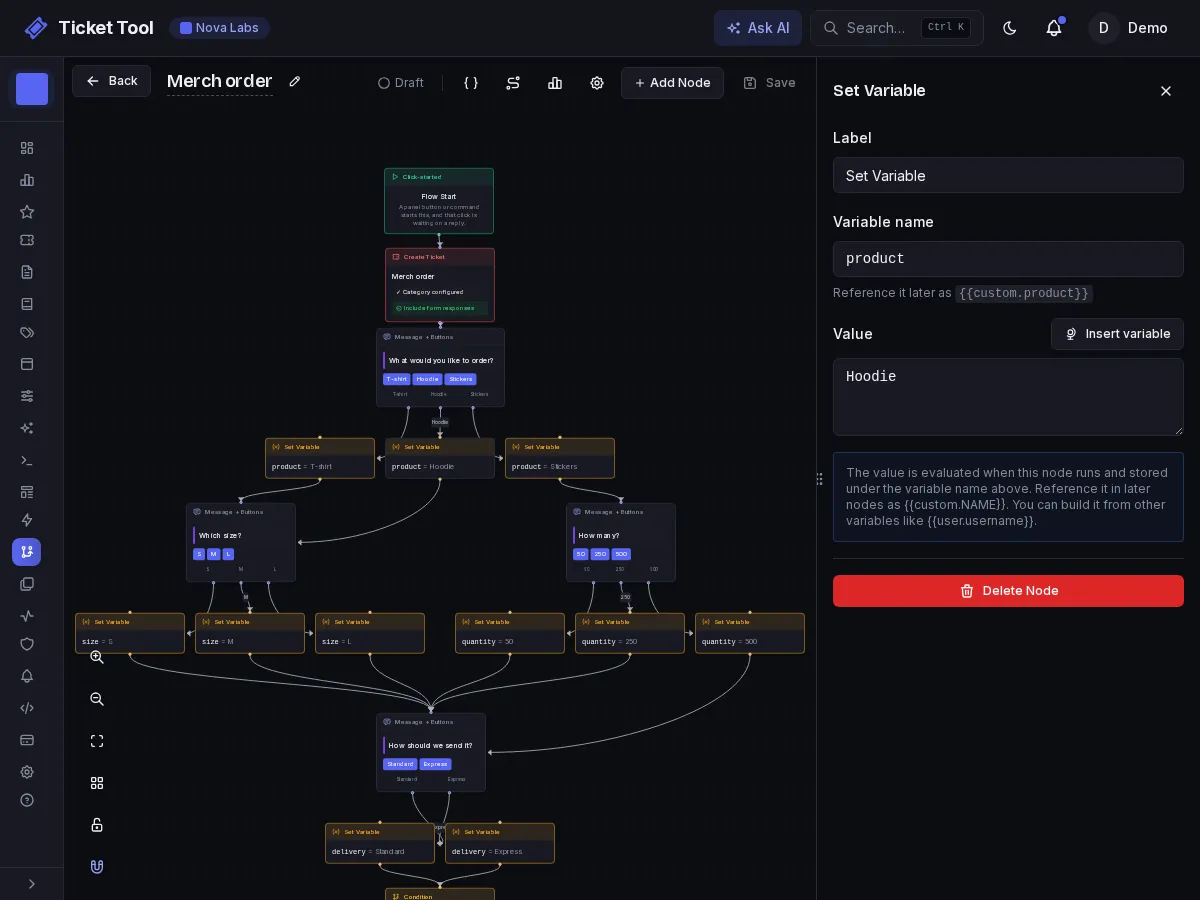
All three use the same name, so later nodes read {{custom.product}} whichever button was pressed. Names can use only letters, numbers and underscores, must start with a letter, and are case-sensitive.
Ask the follow-up questions
Repeat the pattern for each menu: a Send Message node with a button per option, each button leading to a Set Variable node.
| Menu | Reached from | Buttons | Saves |
|---|---|---|---|
| Which size? | The T-shirt and Hoodie nodes | S, M, L | size |
| How many? | The Stickers node | 50, 250, 500 | quantity |
| How should we send it? | Every size and quantity node | Standard, Express | delivery |
Post the summary
Connect every delivery Set Variable node to one Send Message node:
🛒 New order from {{user.mention}}

Product: {{custom.product}}
{{#if custom.size}}Size: {{custom.size}}
{{/if}}{{#if custom.quantity}}Quantity: {{custom.quantity}}
{{/if}}Delivery: {{custom.delivery}}
The {{#if …}} blocks hide a line the member's path never filled in, so a hoodie order has no Quantity line. Each block ends after its line break, so no blank line is left behind either. See conditional blocks for what else they can check.
Combine values into one
The value of a Set Variable node can use other variables. Add one between the delivery nodes and the summary, with the name order and the value:
{{custom.product}} {{custom.size}}{{custom.quantity}}, {{custom.delivery}}
Now {{custom.order}} holds the whole order in one line, such as Hoodie L, Express, ready for a ticket topic, a staff channel message or an API Request to your store.
Branch on what they picked
A Condition node sends the flow different ways depending on a variable. Use one to ping the people who handle bulk sticker orders:
- Add a Condition node from Logic & Flow, and point every
deliverySet Variable node at it instead of at the summary (or at theordernode, if you added one). - Choose Advanced. Set the row's source to Variable / field and enter
custom.quantity, without braces. - Pick Regex Match and enter
^(250|500)$. - Connect the row's output to a Send Message node that mentions your bulk-orders role, such as
@Bulk orders Bulk sticker order: please check stock., and that node on to the summary. Connect else straight to the summary.
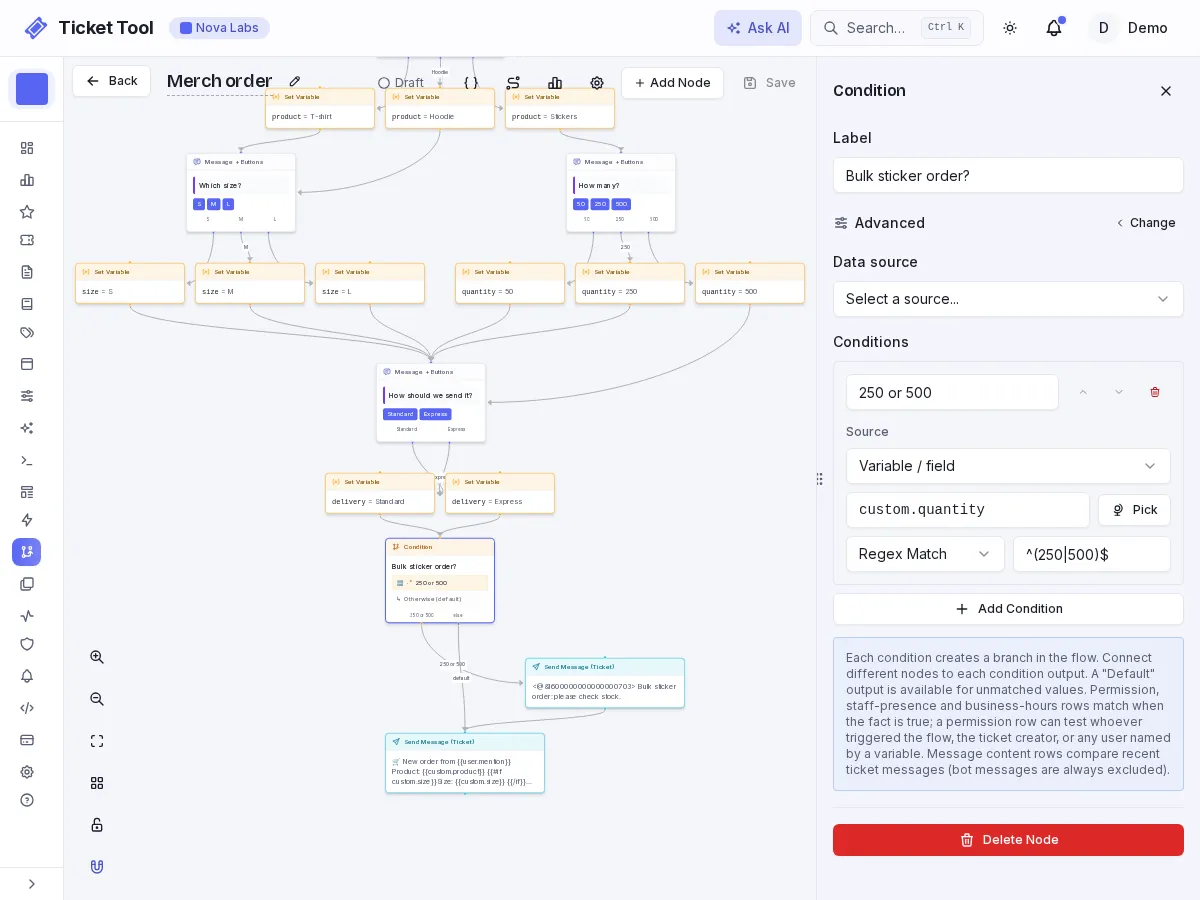
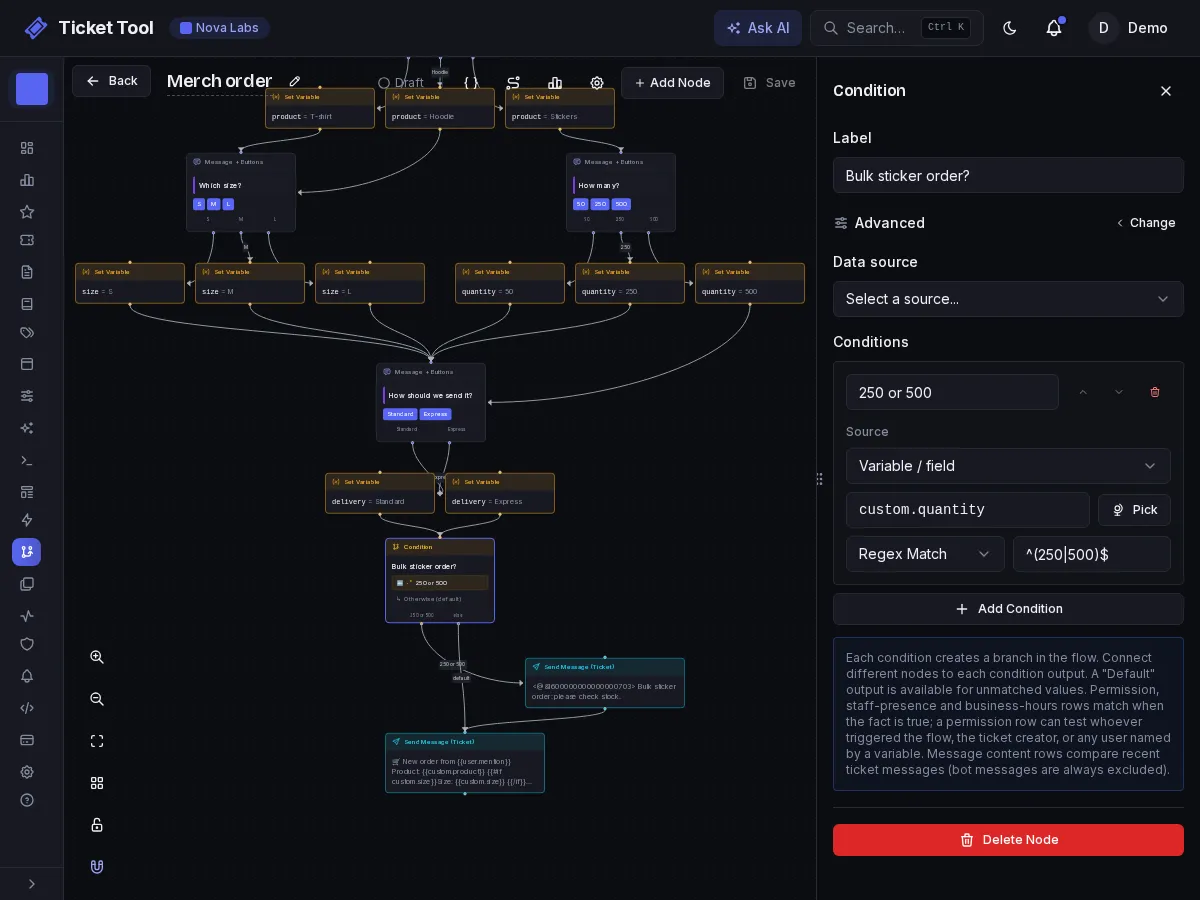
Conditions compare text and ignore case, so hoodie equals Hoodie. They have no "greater than": to check a number, match the values you offer, as above, or use a regex such as ^[0-9]{4,}$ for "four digits or more". See Conditions for every check a condition can make.
Tips
- See what the flow knows. Put
{{all_variables}}in a Send Message node while you build. It prints every variable with its current value, so you can spot a misspelled name. Remove it before members see it. - A dropdown works too. For a long list, set the Send Message node's message type to a dropdown and connect each option to its next node. The pick is saved as
{{responses.<Answer name>}}, so you need at most one Set Variable after the menu. Keep the menu in the ticket: one sent to another channel can't carry the flow on. - Repeat presses. Because these menus are posted in the ticket channel, a member can press a different button on a menu they already answered, and each press runs the rest of the flow again. A click limit of 1 stops the same button being pressed twice, but not its neighbors, so word your last message so staff can tell which order is current.
- Form answers work too. A form or dropdown saves its answers as
{{responses.Field label}}without a Set Variable node. Use Set Variable when the value comes from a button, or when you want a short name for a long label. - How long values last. Each menu message remembers the values set before it was posted, for 90 days, and a button press carries them on. They are not stored on the ticket itself, so to keep something, write it into a message, the ticket topic or a tag.